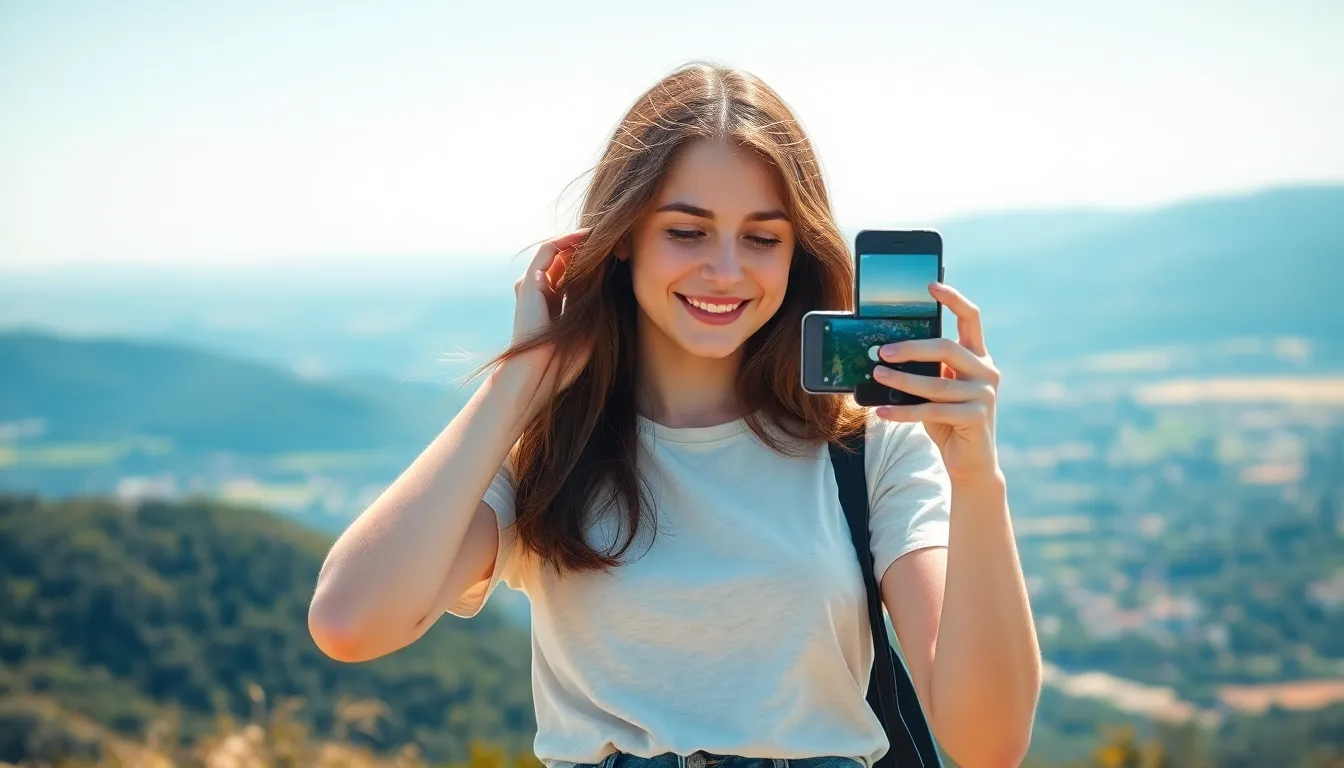
In a world where selfies reign supreme, having the perfect exposure on an iPhone can make the difference between a photo that dazzles and one that flops harder than a cat in a bathtub. Whether it’s capturing that gorgeous sunset or snapping a candid shot of your friend mid-laugh, knowing how to tweak your exposure settings can elevate every moment.
Understanding Exposure Settings
Exposure settings on an iPhone directly impact the quality of photographs. Learning how to adjust these settings can elevate the photography experience.
What Is Exposure?
Exposure refers to the amount of light that hits the camera sensor. It determines how light or dark an image appears. Perfect exposure balances the highlights and shadows, creating a well-lit photograph. Notably, exposure is influenced by three primary elements: aperture, shutter speed, and ISO. Users can adjust these elements using the iPhone’s camera interface or third-party apps. Understanding these concepts makes it easier to capture stunning images.
Importance of Exposure in Photography
Proper exposure plays a crucial role in photography. It enhances the details and colors in images. Achieving the right exposure prevents overexposed highlights and underexposed shadows, which can distort the original scene. Photographers can produce rich, vibrant photos by correctly adjusting exposure settings. Users capture not just what the eye sees but also the emotions and ambiance of a moment. Mastering exposure leads to higher-quality shots, regardless of the environment or lighting conditions.
Techniques to Increase Exposure
Achieving optimal exposure on an iPhone involves several techniques that enhance photographic results.
Using the Camera App
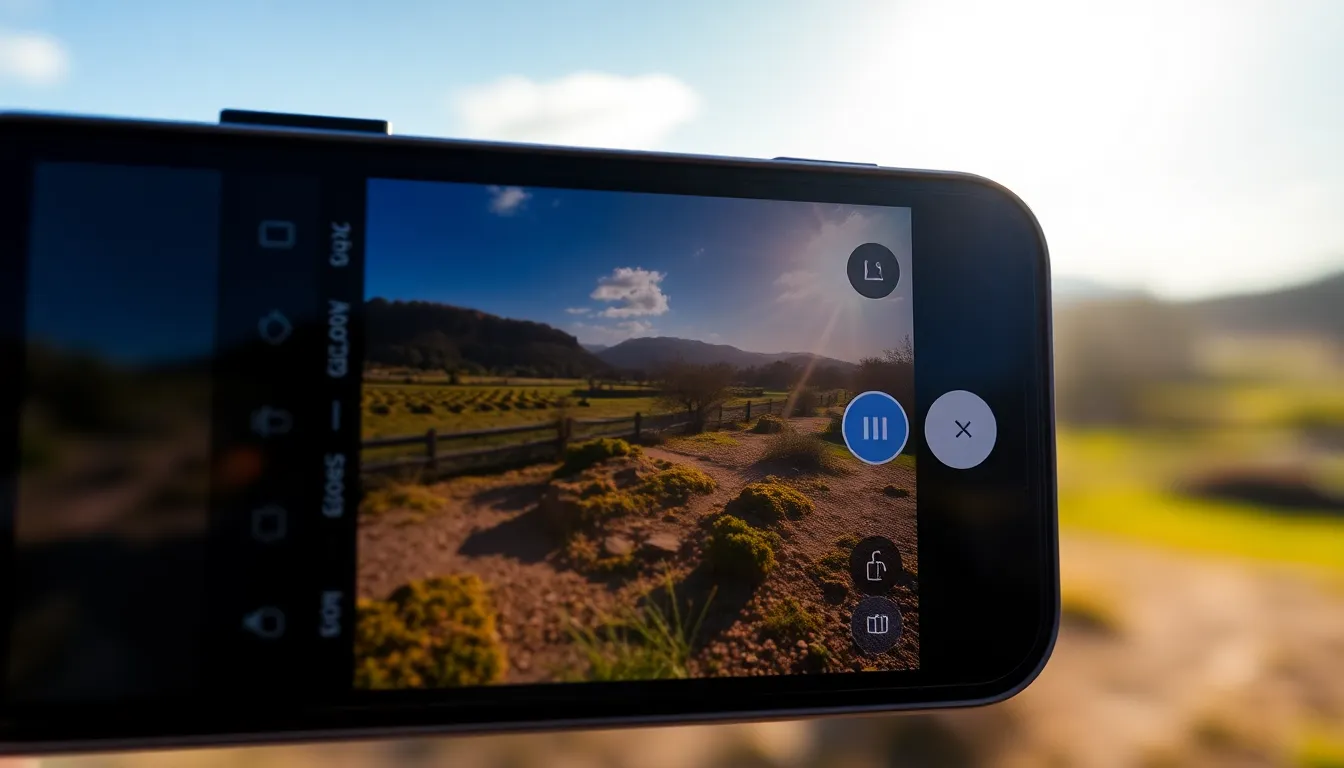
The iPhone camera app provides intuitive controls for exposure adjustments. Users can tap to focus on a subject, which also sets the exposure level for the shot. When the sun icon appears beside the focus square, swiping up or down adjusts exposure instantly. This feature allows quick corrections in varying light conditions. Observing shadows and highlights during this process helps in achieving balanced images. Utilizing grid lines in the camera settings can also aid in composing correctly exposed shots.
Adjusting Exposure Manually
Manually adjusting exposure enables greater creative control over images. Users can engage the adjustments via the camera app through simple taps. To expose for the subject’s face in a backlit situation, tapping the screen on the face allows tweaking of the exposure level. This process results in well-balanced photos, revealing details in both dark and bright areas. Photographers can also engage with third-party apps, which often offer enhanced manual controls for precise settings. Experimenting with these tools ensures photographers capture their desired look more effectively.
Utilizing HDR Mode
HDR (High Dynamic Range) mode captures images with enhanced detail in both bright and dark areas. This mode combines multiple exposures to create a single well-balanced photo. Users can enable HDR in the camera settings or directly from the camera interface. Ideal subjects for HDR encompass landscapes with high contrast or a scene featuring both shadows and highlights. Checking the camera’s preview before taking a picture helps in assessing the effectiveness of HDR adjustments. This technique ensures photographers preserve details that might otherwise get lost in tricky lighting conditions.
Advanced Methods for Increasing Exposure
Advanced techniques can enhance exposure on an iPhone, refining photography skills. Exploring third-party apps broadens the possibilities for achieving the desired light balance.
Using Third-Party Apps
Third-party apps provide additional tools for fine-tuning exposure settings. Popular options, like Adobe Lightroom and Halide, allow users to manually adjust aperture, shutter speed, and ISO. These apps often include histogram displays that help users monitor light levels in real time. Customization options enable photographers to tailor settings for specific shooting conditions, whether in bright sunlight or low-light environments. Users can also save presets for consistency across multiple shots.
Editing Photos Post-Capture
Editing photos post-capture offers an effective way to improve exposure. Built-in editing tools in the Photos app allow adjustment of exposure, contrast, and brightness adjustments easily. Furthermore, apps like Snapseed and VSCO provide greater flexibility with advanced features like selective adjustments and curves manipulation. These tools facilitate recovering details in overexposed highlights or underexposed shadows, enhancing overall image quality. Users can also utilize filters to creatively balance light in their images. Techniques applied in editing can bring out the best in photos, ensuring vibrant and compelling visuals.
Tips for Best Results
Achieving optimal exposure involves careful consideration of lighting and composition. Implementing the right techniques can enhance photographic outcomes significantly.
Lighting Considerations
Lighting plays a crucial role in exposure settings. Natural light is often the best friend for photographers; it provides soft, flattering illumination. Shooting during golden hours—shortly after sunrise or before sunset—produces warm, enchanting tones. When facing bright sunlight, shadows may impact exposure quality. To combat contrast, consider using diffusers or reflectors. Low-light environments require special attention; increasing ISO or utilizing night mode can improve clarity. Avoid harsh artificial lights that may lead to unflattering colors. Experimenting with backlighting also adds depth to images, capturing both subject and surroundings creatively.
Composition Techniques
Strategic composition influences the perception of exposure. Implementing the rule of thirds enhances visual interest; positioning subjects along grid intersections creates balance. Adjusting your perspective can reveal unique angles and optimize light capture. Framing subjects within natural elements, like trees or other objects, adds context and depth to photos. Leading lines draw the viewer’s eye toward the subject, guiding attention effectively. Including foreground elements can also establish depth. Regularly experimenting with different compositions enriches the photographic portfolio, enabling creativity and versatility while working with exposure settings.
Mastering exposure on an iPhone can transform photography skills and lead to stunning images. By understanding how to manipulate aperture, shutter speed, and ISO, users can capture vibrant photos in any lighting condition. The techniques discussed empower photographers to take creative control and produce balanced images that reflect their unique vision.
Utilizing tools like HDR and third-party apps further enhances the ability to fine-tune exposure settings. With practice and experimentation, photographers can develop a keen eye for lighting and composition, ensuring their images stand out. Embracing these strategies not only elevates the quality of photos but also enriches the overall photography experience.